A few years back, while clearing out some overrun vinca (planted by a previous owner), I came across several paving stones. Obviously meant to delineate that part of the backyard, they'd become completely covered up by that vinca. Since I was taking out that ground cover to put some perennials in, I set the paving stones aside to reuse somewhere else in the yard. And there they sat.
Then this summer I had a brainstorm: I'd use them to make a short pathway near one side of the house. When we'd moved in, this strip of land had been a no-man's land between the side of the deck and the neighbor's wooden fence. All that was growing there was yet more vinca.
Over time I've pulled out the vinca and replaced it with mints, lemon balm and wildflowers. I left the area closest to the deck unplanted for a path, of course, which meant that it had an annoying tendency to attract weeds to that part of the strip.
Don't why it hadn't occurred to me before - I guess my brain works kind of slow at times - but it suddenly hit me that those once-buried paving stones would make a perfect path there. It would add interest to that part of the yard and would cut down on weeding too.
As I'd mentioned in this post, I'm not much of a painter, but I'm capable enough to tackle simple designs, so I hauled the paving stones (eight in all)to the proposed path area and put them in place. Then came the painting fun!
Using the same paints I'd discussed in the above link, I got to work with a circle design. I used a stencil for the largest circle and dotted on the smaller circles freehand.
Here's how my efforts turned out:


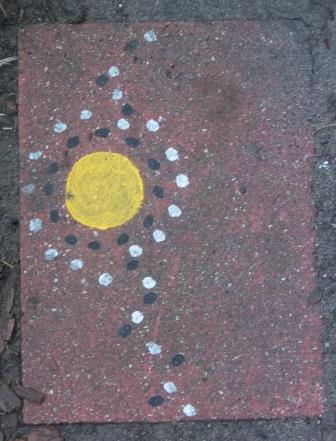
I varied the placement of the large circles on the paving stones, but placed the smaller dots so that they "connected" from one paving stone to the next.
Had to hurry the design toward the end, though, as a storm was moving in. These paints need up to 72 hours of curing time before being exposed to the elements; I hadn't been expecting a sudden rain to move in. So I quickly finished up the painting, then covered my new pathway with a tarp.
I am quite pleased with how my painted paving stone path turned out. A more skilled painter would have come up with something far nicer, I'm sure, but I'm satisfied. Since the paving stones were a "found" material and I already had the paints and paintbrush on hand, all my new path cost me was a little time and effort.
Anything to improve the appearance of our yard - and the paving stones have, indeed, cut down on the weeds in that part of the yard. That's a win-win!
No comments:
Post a Comment