Wednesday, March 29, 2017

An Eight-Day Odyssey: Part Two

Hello! We saw signs of spring in the more southerly areas of our recent vacation: pansies and daffodils blooming in the Baltimore area, outdoor garden centers open for business, and the famous Kentucky bluegrass looking very nice. 

But once we began traveling north to make our way toward home, the colorful landscape didn't travel with us. Spring hadn't advanced that far yet, so we got our dose of that season instead at Phipps Conservatory in Pittsburgh. This was our first visit here and we really enjoyed it!

The layout of this conservatory was interesting: from the Welcome Center, one walks into the Palm Court behind it. From there, several other conservatories branch out from the sides and back of Palm Court. Since we were first-time visitors, the nice woman who took our tickets recommended that we start at the right and keep moving in that direction to visit the many "rooms" at this facility. Taking her advice, we viewed orchids, ferns, tropical fruits and spices, a tropical forest, a desert habitat, a French garden whose design roots go back to Louis XIV, a sunken garden and more. The place seemed to go on and on!

Now for some photos: 
The annual Spring Garden Show had just opened, with this year's theme being "Enchanted Forest". I supposed an "enchanted forest" might very well be home to gigantic squirrels! From the Serpentine Room.


Orchids; from the Orchid room, of course.

More colorful plants. 


The Tropical Forest Conservatory features a different region every three years. Currently it's depicting life in a tropical area of Africa. The above photograph shows folk art from that region. 

A close-up of the piece. 

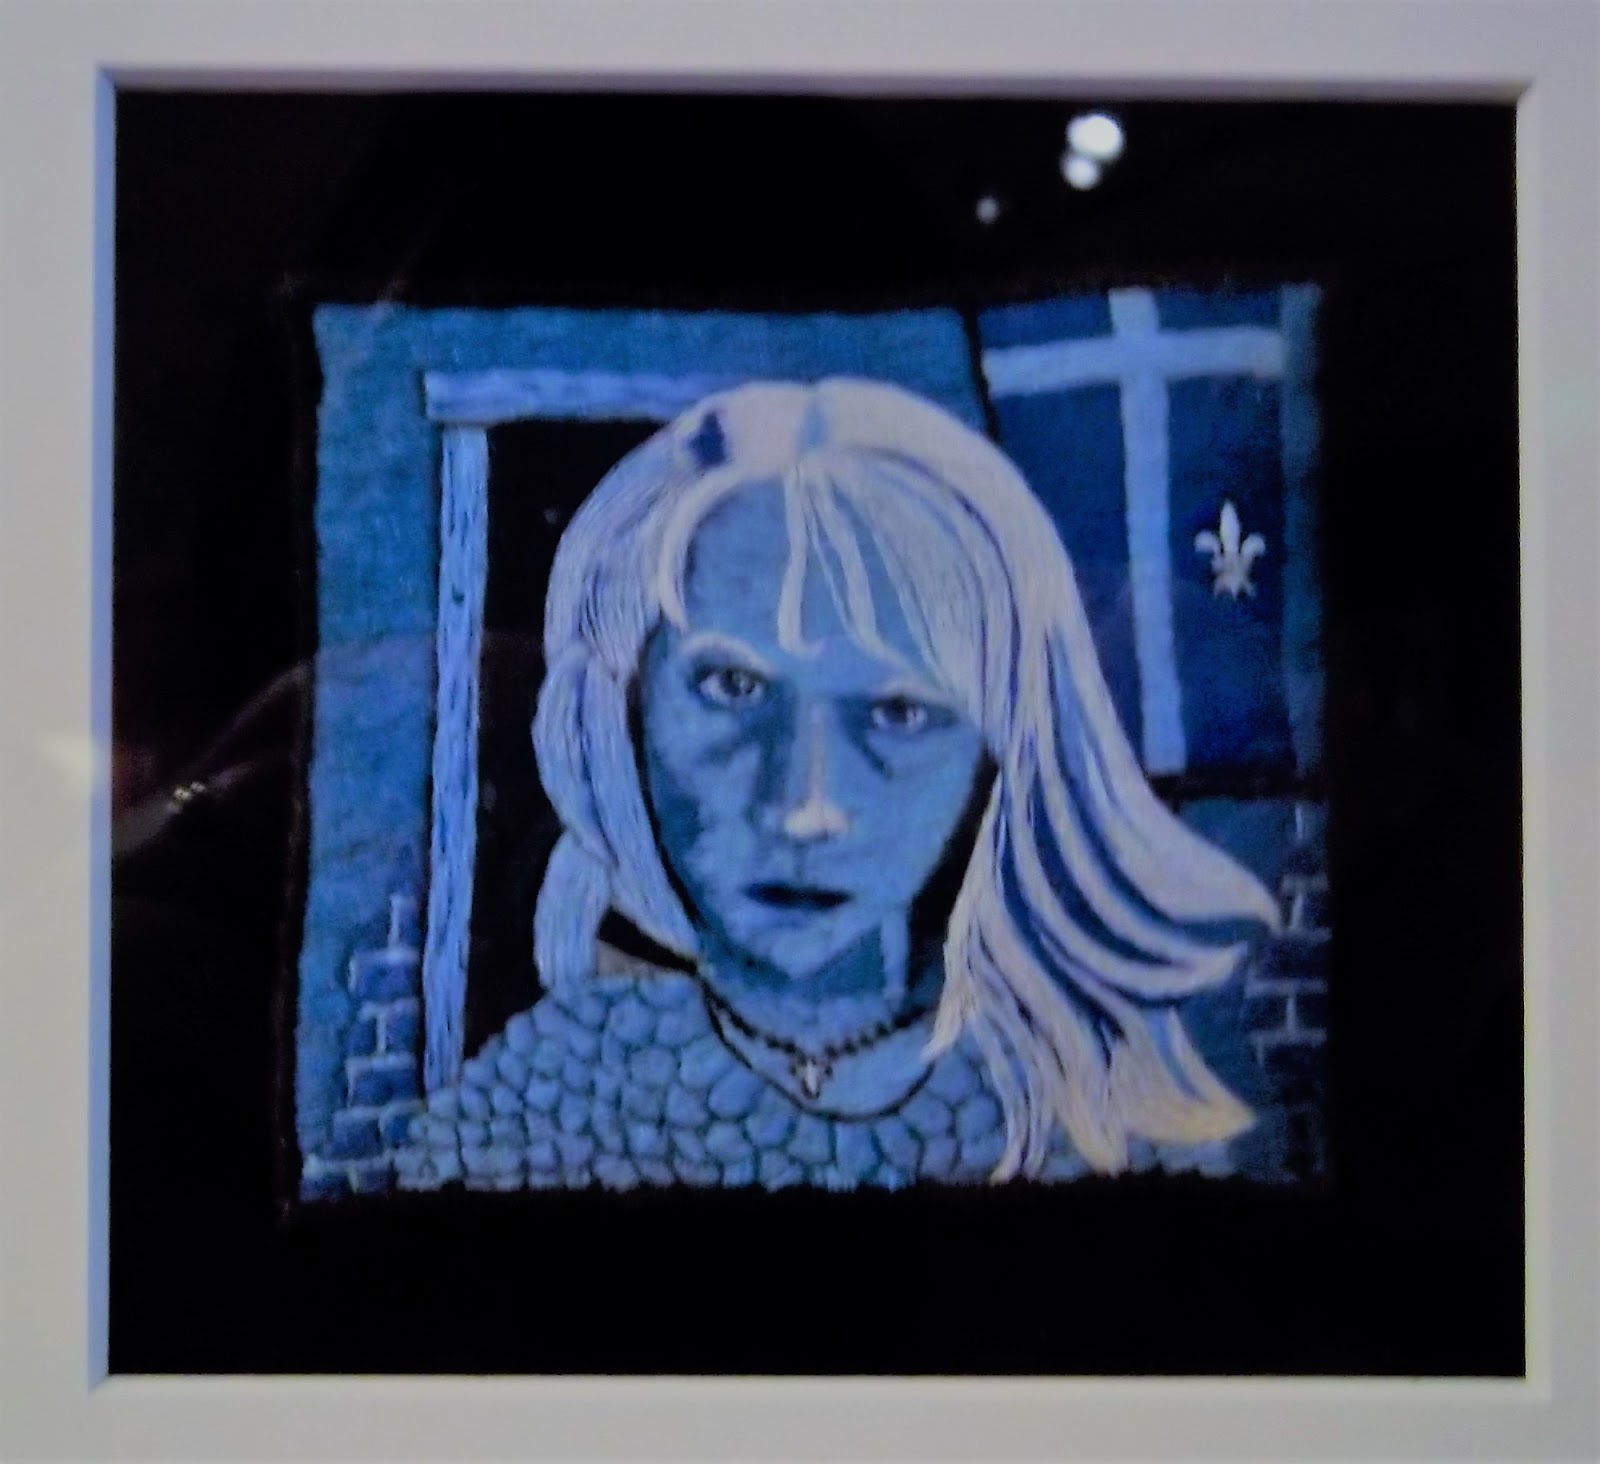
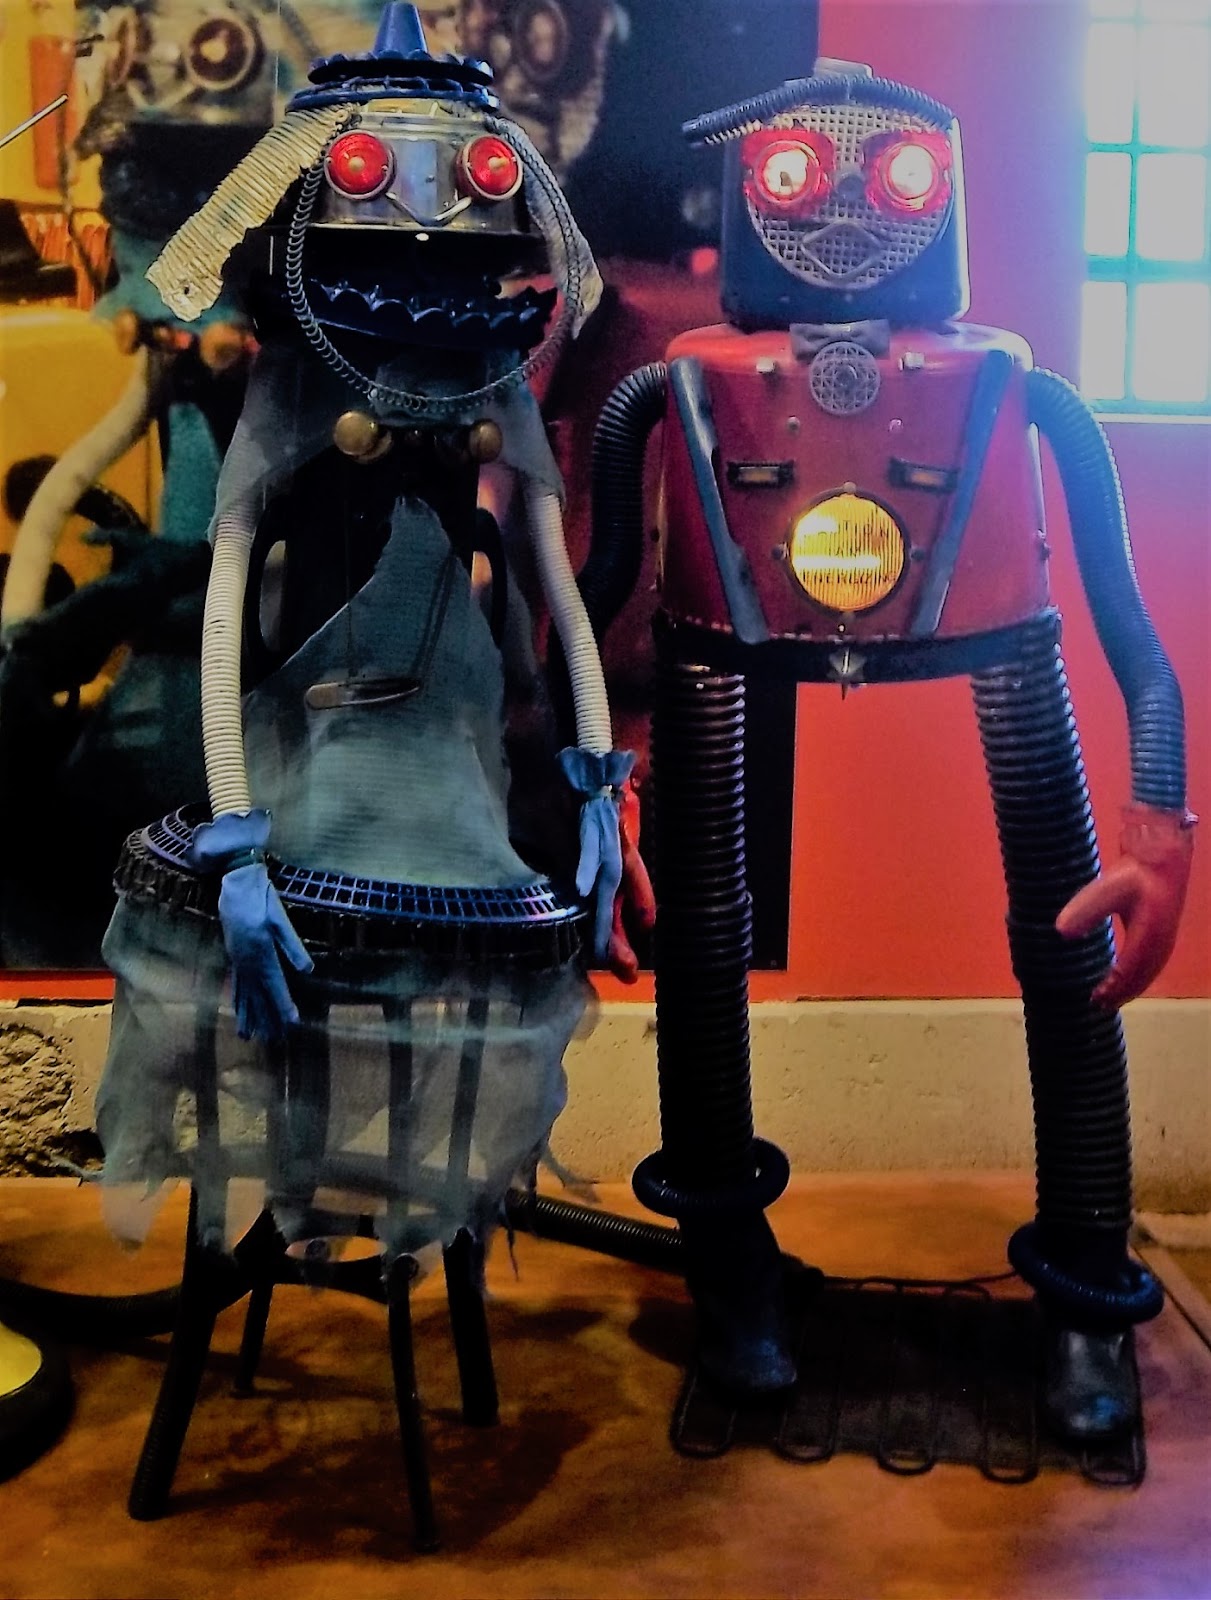
I thought I'd taken more photos from this display but apparently I hadn't. I guess I'd been too busy looking, for I found this particular conservatory room very interesting! Besides the tribal piece I've shown here, there were also examples of a market stand, basketry, simple forest dwellings and more. I don't think I've seen such a thorough example of African tropical forest life covered at other conservatories I've visited. 

One thing I really liked about the layout of Phipps Conservatory was its intimacy - many of the paths winding through the plantings were quite narrow, and there were few railings around these paths. Thus, many of the displays could be viewed at closer range than at other conservatories. 

Bowever, there were a couple of rooms that had railings that prohibited walking right up to the plantings, but these rooms were still pretty in their own right:

The Broderie Room, which is the French garden-inspired garden I'd mentioned earlier. One can see why it's popular for small weddings. Judging from the white bows with long "tails" hung up along the walls, it looked like a wedding had either just occurred or was about to.

A close-up:


The Victoria Room, currently showing off topiaries of winged bugs.

And some close-ups:


Vivid snapdragons.

And cheery daffodils. So nice to see such bright colors when things still look pretty dull outside (although some of our daffodils began blooming yesterday). 

Actually, the full name of this facility is Phipps Conservatory and Botanical Gardens. The botanical gardens include sustainable perennials, medicinal and herbal plants, aquatic gardens, a children's garden, a Japanese courtyard garden, and more. We did take a peek at the Japanese and children's garden, but there wasn't much to see. Like everywhere else in the Pittsburgh area, the outdoor growing season hasn't arrived yet. 

But for now, we had the  blooms and greenery of the conservatory rooms to make us feel like it was spring inside!

If you'd like to know about Phipps Conservatory and Botanical Gardens, go here.


Saturday, March 25, 2017

An Eight-Day Odyssey: Part One

Hello! My husband and I just returned from an eight-day odyssey: a road trip that took us to Baltimore, Pittsburgh, Lexington, Cincinnati, Lexington and Indianapolis, plus the smaller cities of Williamsport and Ephrata (both in PA) and Berea, KY. All told, we traveled a little over 2,000 miles and visited six states. Quite a busy time! The longest travel day was six hours, and most of the driving hours were considerably shorter, so we had time to tour spots of local interest along the way.

For us, one must-see spot in Baltimore is the American Visionary Art Museum (AVAM). We've gone to this fun, funky museum several times before, and thus I'd blogged about it. However, during those prior visits I could only show off exterior shots of AVAM, since no interior photography was allowed.

But at some point that policy was changed, because we learned we could now shoot indoor pics as long as no flash was used. Hooray! Now I can show off the wackiness of this unique institution.

I'll begin with examples from the current special exhibit "Yummm! The History, Fantasy And Future Of Food":

In both photos, the mosaic-like artworks were created by using pieces of bread and other stale carb-centric foodstuffs. I liked how the smaller works (created by students of the man who had thought up the project) were mounted on large baking sheets, the type used by cafeterias and bakeries. 

Circles within a circle: bagels and bun halves were used to create the above.
A close-up:
Honeycomb cereal, goldfish crackers and pretzels were included as well. 

Non-bread artworks from the Yummm exhibit:


A painting that suggests the usage of a rolling pin as a tool for "husband adjustment". "Cures alcoholism, smoking, excessive sports watching, apathy, lethargy, ADD & OCD. Apply directly to forehead once daily or as needed". LOL. 


Let them eat cake: a mannequin adorned with look-alike sweet stuff. 


Fake cakes, but they sure looked like the real thing!


Many of us can agree with the above quote when faced with real cakes!

One of several folk art paintings created by a woman to advertise the goodies she was selling at her farm market. Over time, her paintings became more popular than her food!

Please avoid the next three photos if you're squeamish; they're taken from a brief video that showed raw meat being knitted. I found the process gross myself, but took the pics as a novelty for a talented knitter friend:


Upon hearing of this meat knitting, our daughter asked me if the finished item was cooked. The video didn't say. 

On that note, I'll now show off some of the permanent displays:

Haunted by the deaths of relatives who couldn't escape a house fire due to stuck doors, a woman began painting on old doors. 


To pass the time while in prison, a man embroidered pictures - using the yarn from unraveled socks. 

Goofy carved and painted wooden piece. 


A goddess. 


A large assemblage that spins - made from colored paper plates.


Fifi, the mascot of AVAM's annual Kinetic Sculpture Race. You may have noticed the wheels on Fifi's base - yes, she was part of the race several years ago. There used to be a photo of Fifi nearby, showing her partially submerged in the Inner Harbor, which is just a short distance away from the museum. Obviously she overcame that mishap during her participation in the race that year. 

A car covered with shimmering pieces of glass. 


An art quilt that highlights various common faults: I've shown off one of mine, procrastination (near the bottom, slightly left of center).


A pious hot air balloon: as it spins around, one can read the artist's words of faith - "God Is Love". 

Switching gears again, to another special exhibit - Matt Sesow's "Shock and Awe":


A close-up:


In English, "el rincon" means "the corner". 

Yes, Sesow's work looks raw, intense and even a bit on the macabre side - probably not unexpected for a self-taught artist who was the victim of a traumatic freak accident when he was but eight years old. 

I'll leave you with one final photo:

These two robot-like sculptures are part of a "family". If memory serves me correctly, this duo was "married" in a ceremony hosted by AVAM several years ago.

And I think that such an "event" sums up the overall zaniness of this museum. If you're ever near Baltimore and were planning to visit the Inner Harbor area while there (or even if you weren't), AVAM is worth a look! 

If you'd like to learn more about this museum, go here.


Tuesday, March 14, 2017

Eats: Happy Pi(e) Day!

Hello! With today being Pi Day (3/14), I saw mention of pizza specials on TV. But I decided to take a different approach - I made pecan pie. Actually, I made two of them, in miniature form, thanks to this recipe:

Li'l Pecan Pies (recipe attributed to Christine Boitos of Livonia, MI. Not sure in what magazine the recipe had appeared; possibly Taste Of Home.)

Pie Crust

1/2 cup flour
1/8 teaspoon salt
3 tablespoons shortening (see note)
4 teaspoons cold water

Filling:

1/3 cup pecan halves
1 egg
1/3 cup corn syrup
1/3 cup packed brown sugar
1/2 teaspoon vanilla (see note)

Whipped cream, optional

In bowl, combine flour and salt; cut in shortening until crumbly. Gradually add water, tossing with a fork until dough forms a ball. Cover and refrigerate dough for at least 30 minutes. Divide dough in half. Roll each half into a 6" circle and transfer to two 4 1/2" tart pans. Fit pastry into pans, trimming if necessary.

Arrange pecans in pie crust shells. In bowl, combine filling ingredients; mix well. Pour over pecans. Place shells on baking sheet. Bake at 375 for 35-40 minutes, or until knife inserted near center comes out clean. Cool on wire rack. Top with whipped cream if desired. Yield: two servings. 

Notes: I used butter instead of shortening in the pie crust. The chilling period of at least 30 minutes seemed silly to me for such a small recipe. So instead, I divided the pie crust in half, flattened each half, wrapped them separately in plastic wrap and put them in the freezer. I then proceeded to make the pie filling. By the time I had whipped that up, the pie crust halves had firmed up enough to roll out. Much quicker! 

Upon tasting a portion of a baked, cool pie, I felt that the vanilla taste was too strong. I looked at some pecan pie recipes for full-sized pies and saw that they called for 1 teaspoon vanilla. Since my recipe's filling seems to yield 1/4 the amount of filling used for a full-size  pecan pie, I think 1/4 teaspoon vanilla would work better.

Instead of 4 1/2" tart pans, which I don't have, I used two of my mini pie pans. They have the same diameter. 

Here's how one of my baby pies looks:

And a quarter of it:

Yeah, I know the recipe was written as two servings, but pecan pie is pretty rich, so I'll stick to smaller helpings. If you're familiar with the even smaller pecan pie-like dessert known as Pecan Tassies, the above slice is about the same size as two of those pastries. 

And another reason for eating a small slice from a small pie: I'll be the only eating these mini pecan pies. My husband's far more interested in the number Pi than in pie!


Wednesday, March 8, 2017

Made It: A Paper Flower

Hello! We've been enjoying spring-like weather lately, although it sounds like winter will be returning soon. So, with the two seasons battling it out (a common March theme in these parts), it seems fitting to pay homage to one of the earliest blooming flower, the snowdrop. 

Not sure why, but we haven't put in any snowdrops on our property, and no previous owners had either. To enjoy the real thing, we  stroll by the front yard of one of the nicest gardens in our neighborhood. But recently I thrifted a book that I thought would at least help me pretend I have this flower myself:

Making Flowers In Paper, Fabric And Ribbon, by Steve and Megumi Biddle. This book was published by a British company in 1991, but both Biddles have a Japanese crafting background. Mr. Biddle studied in Japan with top origami masters, while Mrs. Biddle received a Japan Floral Art Teacher's Certificate. 

With such artistic backgrounds, you'd expect this duo would have created life-like flowers, and the cover above is proof. Those peonies looked pretty realistic to me! So when I took a peek inside the book, I assumed the directions would be quite intricate. But to my surprise, the patterns and instructions for each flower were clear and not all that complicated.

And since I'd been collecting vintage crepe paper (dirt cheap) at rummage sales and thrift stores, I had the "paper" in the book title covered. So I bought it.

Here's the page that shows the pattern pieces for the snowdrop:

I began by copying the patterns onto tracing paper. There are three leaf patterns of varying lengths, but since I decided to practice by making just one flower to start, I used one of the lengths. Overall, this was an easy flower to craft, since I only needed to cut out crepe paper for three leaf pieces, three petal pieces, one of another petal piece, and one calyx. 

Besides the crepe paper, this pattern also called for some typical floral craft supplies: green floral tape, floral wire and a white stamen - plus a green marker (to color the inside of the rectangle-ish petal piece) and glue for affixing the wire to the leaf petals. I had everything but the white stamen (another reason for buying the book - I had the majority of the supplies already on hand. Like the crepe paper, most of them were purchased secondhand).

This kind of craft may seem a bit fiddly, since you're working with rather small pieces, but I found my snowdrop pretty easy to put together. I think I did pretty well for a first effort:

 
Looks close to the real thing, I think! 

A close-up:

Of course, with such a close-up you can readily see that the petals, stem and leaf are made from crepe paper. But our daughter, who came home from college for a visit after my snowdrop had made its debut on our dining room table, didn't realize it was artificial until I told her. So my effort passed the eye test, at least with her. 

This is the only snowdrop I made. However, there's 25 more types of flowers in this book I can assemble, and I look forward to doing so. Daffodils will be nice to create, as will tulips when the local annual festival devoted to that flower comes around. 

We have planted daffodil and tulip bulbs on our property, but don't have enough to cut many for indoor enjoyment. So instead, I can make some and display them around the house for more signs of spring. 

Now, if only spring weather will stay here, rather than allowing winter to return this weekend!
 

Wednesday, March 1, 2017

Made It: A Scrappy Journal

Hello! Some time ago I found an issue of the late, great Craft magazine at a thrift store. As I usually do with such finds, I tore out the articles I wanted to keep, filed them away, and tossed the rest. But I kept Gareth Branwyn's "Journal-Art Memoirs" out to refer to, since I wanted to try the project featured - what he refers to as a "visual journal". 

Branwyn started out with a 5.2"x8.2" Moleskine journal, and transformed the blank pages with art supplies (paints, stencils, stickers, rubbers stamps, etc.) and emphemera (some examples given were travel brochures, receipts, junk mail, newspaper, wine labels, string, ribbon, etc.) "...you can pretty much use anything that's relatively flat" Branwyn explains (so that the journal will doesn't become too unwieldy). 

I finally got around to starting my own visual journal last month, and challenged myself to do a page every day of that 28-day period. Besides getting tired of seeing that article on our coffee table for months on end, I knew the trip we were taking to the Bay area would give me a few fun pages to work with. And I trusted that I would figure out what to put on the other pages as the month unfolded. 

And here's how they unfolded, starting with the blank journal I used:

I didn't have a Moleskine journal the suggested size, but did have sketchbook that measures 5"x8", so that's what I used. The boring label on the cover couldn't be removed, so I put a facsimile of a vintage illustration (from the book Food Mania, which is loaded with such stuff) over it. I stamped the words "a scrappy journal" on vintage paper, then glued them to the illustration. Much better! 

A close-up:

Now on to some pages:

 
Bits of packaging from a favorite snack mix recipe, which I'd made to give to our daughter (I admit, I saved plenty for myself!)

On the left, scraps of decorative papers used to craft Valentine's Day cards. I had to get the cards done and mailed out before we left for our trip. I wrote some details on how I crafted the cards. 

On the right, a homage to Sts. Cyril and Methodius, the patron saints of Slovakia. If I had not married a Slovak-American who gets the Zenska Jednota magazine (a publication of a fraternal organization), I would have not been familiar with these saints. But as their feast day is February 14th, that month's issue had a feature article on these two men's efforts to bring Christianity to the Slavic region. 

A day in San Francisco: cable car ticket, portion of a takeout menu from El Rincon Yucateco, where we ate lunch, address for San Francisco Art Exchange (a gallery where we viewed rare, original photos of the Beatles), and a snippet of ribbon (squirrel design) from Britex. 

Pages from the last two days of our trip. On the left, St. Vincent de Paul church, Petaluma (as depicted on its church bulletin), a snippet from a postcard advertising an art show in Petaluma, and a business card from Petaluma Pie Company. 

On the right, a page from the last day. Because it was Valentine's Day, I included a scrap from a red/pink paint chip sample on the upper left hand corner, and a scrap from Valentine-themed art paper on the lower right hand corner. I also included the tag from our checked luggage, a bit from the Yoga Journal magazine I read on the plane, and a scrap cut from the Jamba Juice takeout menu I picked up at the airport in San Jose. I'd never been to a Jamba Juice before (they don't seem to be around where I live), so I was curious about this business. (didn't buy anything there, as I was pretty full from lunch.)

I prepared for doing the vacation pages by packing along a glue stick, double stick tape, a small pair of scissors and few decorative odds and ends. These supplies all fit in a quart-size baggie, so little room in our luggage was sacrificed. If we'd been driving, I could have taken more supplies along. 

It's easy to do such spreads while on vacation, as ticket stubs, tourism brochures and the like are easy to pick up here and there. But at home, it was sometimes a challenge to figure out what to put on a daily page - especially when I came back home from the trip with a nasty cold. Fortunately, it doesn't take much to fill a 5"x8" page, and inspiration managed to come to me every day.

Although not feeling great, I stubbornly went out for daily walks anyway. On one such walk, I encountered a couple walking their five Newfoundlands - a breed I love! So I took the corresponding illustration out of a vintage encyclopedia in honor of that "family". 

The next day, I still wasn't feeling great, but made a short trip to pick up our daughter after her visit to Chicago. She took the South Shore Line train from Hyde Park to its terminus at the airport in South Bend:

So the brochure I picked up at that airport became the basis for that day's page. 


Thrift store finds above: a game card from the 1967 Musical Bingo game and the cover and goofy line drawing from a vintage community cookbook (vegetable chapter; vintage cookbooks of this type seem to be chock-full of such illustrations).

And finally, from the last day of the month:


Mini calendar page for February, tag from an Earl Grey teabag, and a newspaper clipping that depicts snowfall totals for the month. Officially, we got .8", which is so low for February as to practically be unheard of. The same clipping shows a seasonal total thus far of 42.5" - again, way less than we'd typically expect for being this far along in a winter. Our normal snowfall total for the season averages around 80".

But now it's March - and wouldn't you know it, it's snowing. We may end up with more snow this month than we had in February!

And will I keep up with my "scrappy journal" project? Yes, I will! I found it a great way to do something creative every day, and it's fun to have the visual reminders for the month too. So excuse me now while I go work on today's page!